Mold growth in homes is more than just a nuisance—it can lead to serious health risks, structural damage, and diminished property value. When mold is suspected or identified, it’s critical to follow a thorough mold assessment protocol to ensure the problem is properly addressed and remediated. This process helps identify the source of moisture, assess the extent of contamination, and ensure that all affected areas are treated to prevent future issues.
Learn about the essential tasks and procedures involved in a comprehensive mold assessment protocol for safe and effective mold remediation in your home.

1. Initial Mold Inspection
Before remediation can begin, a qualified mold inspector needs to assess the property for visible signs of mold and areas that may have been affected by moisture. This initial inspection includes:
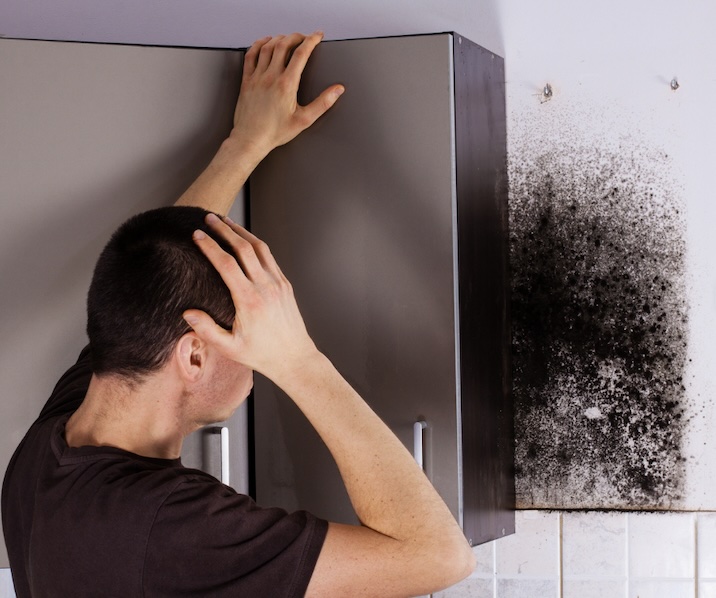
- Visual Inspection: The inspector looks for visible signs of mold, including discolored walls, floors, ceilings, and any areas with visible water damage.
- Moisture Mapping: Using moisture meters, the inspector identifies areas where moisture is present, even if mold isn’t visible. Moisture is the main driver for mold growth, so identifying hidden moisture is critical.
- Air Quality Testing: Airborne mold spores can be harmful, so air quality testing may be conducted to measure the concentration of mold spores in different areas of the home.
Key Tasks in Inspection:
- Assess all potential mold growth areas, such as bathrooms, basements, attics, and behind walls.
- Identify and document the source of moisture that’s fueling the mold growth.
- Take air and surface samples for laboratory analysis, if necessary.
2. Mold Identification and Laboratory Analysis
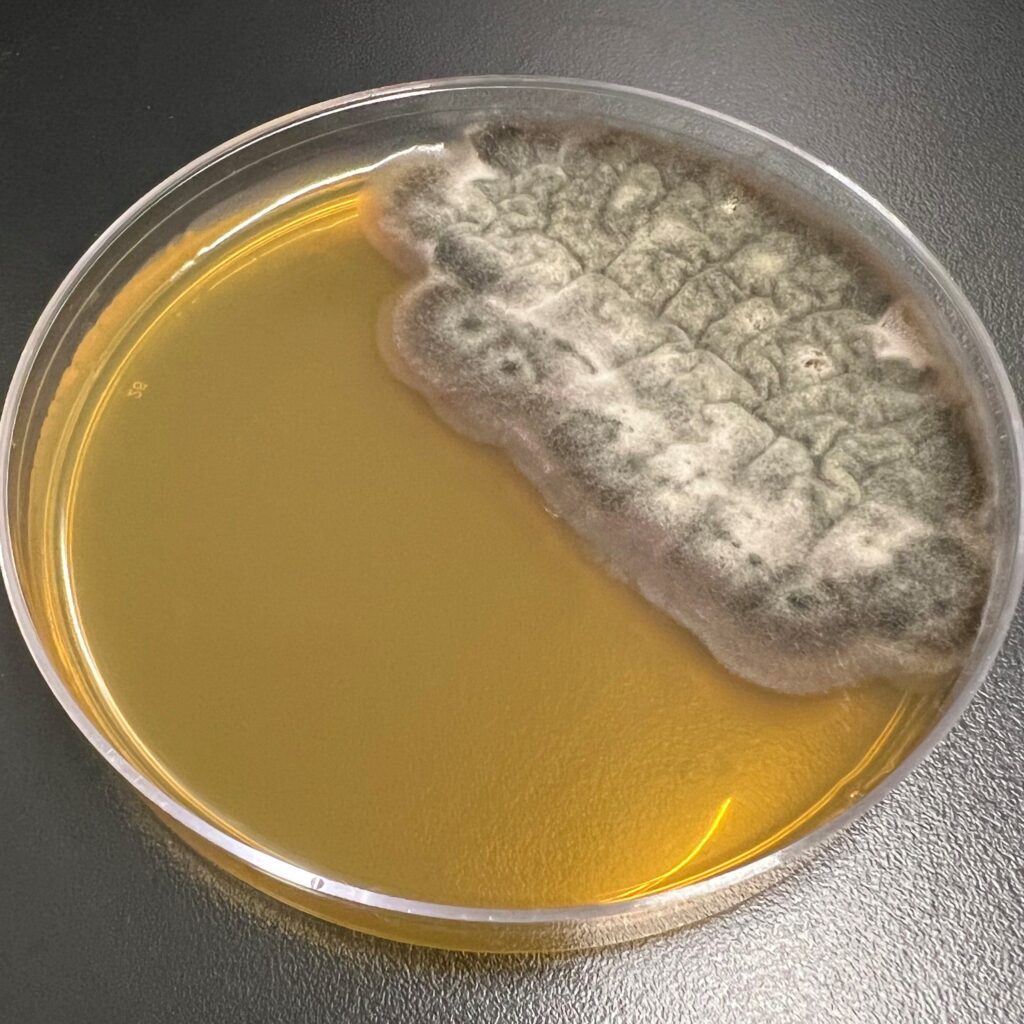
Not all mold is the same, and knowing the type of mold present is essential for creating a targeted remediation plan. If needed, the mold inspector will collect samples for laboratory testing to determine:
- Mold Species: Identifying the specific mold species helps assess potential health risks and determine the best course of action.
- Toxicity Levels: Some molds, like Stachybotrys (black mold), produce mycotoxins that can be harmful. Lab results can indicate the level of toxicity, helping guide remediation efforts.
Key Tasks in Mold Identification:
- Collect air samples and surface swabs from affected areas.
- Send samples to a certified laboratory for identification and analysis.
- Review lab results to determine the appropriate remediation steps.
3. Creating a Mold Remediation Plan
Once the inspection is complete, and the mold type has been identified, a detailed mold remediation plan should be created. This plan outlines the exact procedures and methods to be used during the remediation process to ensure that all areas affected by mold are safely and effectively cleaned and restored.
The plan includes:
- Containment Measures: Areas with mold contamination must be contained to prevent spores from spreading throughout the home. This includes using physical barriers, negative air pressure, and HEPA air filtration systems.
- Personal Protective Equipment (PPE): It’s important to wear appropriate PPE, including respirators, gloves, and protective clothing, to avoid exposure to mold and mold spores.
- Removal of Contaminated Materials: Building materials that cannot be cleaned, such as drywall, carpeting, or insulation, may need to be removed and disposed of.
- Cleaning and Sanitization: Affected surfaces will be cleaned with appropriate cleaning agents and disinfectants to remove visible mold and prevent regrowth.
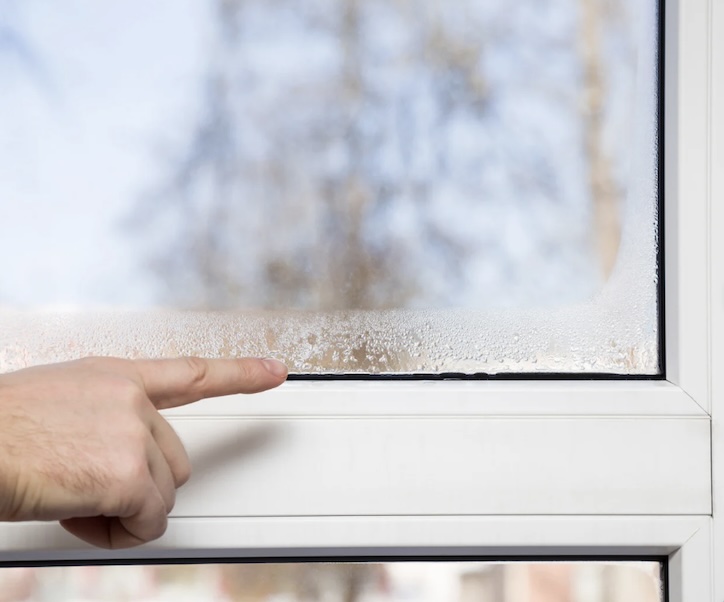
- Moisture Control: The underlying moisture problem (whether it’s leaks, condensation, or poor ventilation) must be addressed to ensure mold does not return.
Key Tasks in Remediation Planning:
- Set up containment zones and isolation procedures for affected areas.
- Establish protocols for safe removal of contaminated materials.
- Identify and address moisture sources to prevent recurrence.
4. Mold Remediation Procedures
The actual mold remediation process follows the plan laid out earlier and consists of several stages to ensure complete removal and long-term prevention. Key steps in this phase include:
- Setting Up Containment: To prevent mold spores from traveling to other parts of the house, the contaminated area is sealed off with plastic sheeting, and negative air pressure is applied using air scrubbers with HEPA filters.
- Removing Contaminated Materials: Materials that can’t be cleaned, such as carpets, insulation, drywall, or ceiling tiles, are carefully removed and disposed of in sealed bags to prevent spreading spores.
- Cleaning and Disinfecting Surfaces: Surfaces that can be salvaged (e.g., wood, concrete, tiles) are scrubbed with mold-killing cleaning solutions and treated with an antimicrobial agent.
- Drying Out Affected Areas: After cleaning, the affected areas are thoroughly dried using dehumidifiers, fans, and moisture control systems to prevent the return of mold.
Key Tasks in Remediation:
- Use HEPA vacuums and scrubbers to clean surfaces.
- Safely dispose of any contaminated materials.
- Monitor humidity and moisture levels to ensure areas are thoroughly dried.
5. Post-Remediation Verification and Testing
After remediation work is completed, it’s crucial to verify that all mold has been removed, and the environment is safe. This post-remediation verification ensures that the property is free from mold contamination and that the work meets the highest industry standards.
Key activities include:
- Post-Remediation Testing: Air and surface samples may be taken again to ensure that mold levels are within acceptable limits and that the area is safe for occupancy.
- Visual Inspection: A final visual inspection confirms that all affected areas have been thoroughly cleaned and that no mold growth remains.
- Moisture Testing: Moisture meters are used once again to ensure that no hidden moisture is present, as it can lead to future mold growth.
Key Tasks in Verification:
- Conduct post-remediation air and surface testing.
- Inspect the area for any signs of leftover contamination.
- Review the results with the homeowner and provide recommendations for continued monitoring.
6. Preventative Measures and Ongoing Maintenance
To prevent mold from returning, a key part of the remediation process involves implementing preventative measures. These steps may include:
- Fixing Leaks and Insulation Issues: Seal leaks in plumbing, roofs, windows, or foundation to prevent water from entering the home.
- Improving Ventilation: Install dehumidifiers, exhaust fans, and improve airflow to reduce moisture buildup.
- Regular Inspections: Schedule periodic mold inspections and moisture assessments to ensure the home remains free of mold growth.
Key Tasks in Prevention:
- Install or upgrade ventilation systems in areas prone to humidity, like bathrooms and kitchens.
- Regularly inspect and maintain plumbing systems to avoid water damage.
Proper mold assessment and remediation are essential for maintaining a healthy home environment and protecting your property.
If you suspect mold in your home, don’t wait—contact us to begin the process today for a safe, mold-free home for you and your family. We specialize in professional mold assessment services across the west coast of Florida, including Sarasota, Bradenton, Venice, North Port, Tampa, and St. Petersburg.


